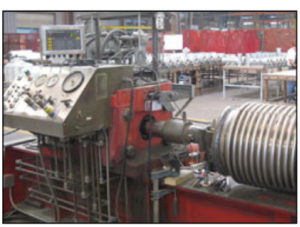
PT&P has the most extensive set of testing capabilities of any engineered pipe support and expansion joint manufacturer. This allows us to provide a more tested, higher quality product and support custom designs. We have had many major EPCs request testing of custom designs to be performed in our shop including Bechtel, Kiewit, Fluor, McDermott and many others.
The following are some of the testing capabilities we have:
Snubber Impulse Testing – PT&P uses a computer-controlled, hydraulic test machine to test the performance of mechanical and hydraulic snubbers ranging in size from 150 lb. to 135,000 lb. This machine is capable of controlling a test, following any load sequence needed. It can then plot the test results immediately, and save the results to disk for future reference.
Snubber Drag Force Test – This is a cyclic test which uses a horizontal, hydraulic press to test snubbers at their two modes of operation. At high rates of loading, especially impact, the snubber is expected to provide very high resistance to movement. At low speeds, snubbers are to provide very low resistance to movement. Testing a snubber at a low speed displays the normal wear and tear over an extended period of time.
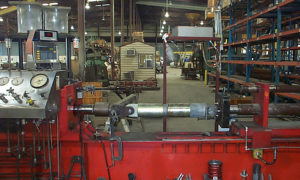
View Snubber Testing Video
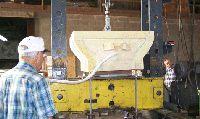
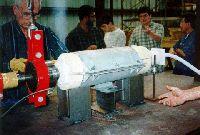
Load Testing – This test is used to determine the maximum load for pipe supports and other products. PT&P engineers and quality control personnel specify goals such as measuring the axial load, lateral load, vertical tension, and temperature. The appropriate configuration is then designed and executed using PT&P Load Testing and other capabilities depending on the scenario.
 |
 |
View Load test Video
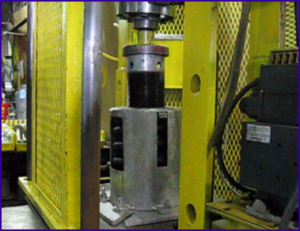
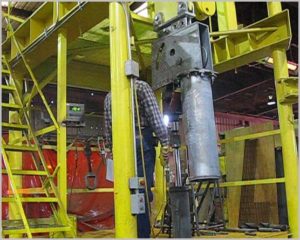
Spring Load Testing – we load test all of our springs prior to shipping to ensure proper functioning.
 |
 |
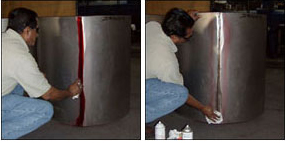
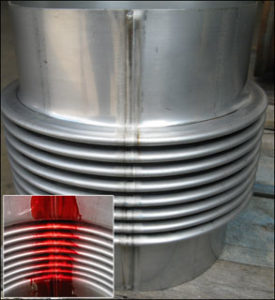
Dye Pen Testing – We dye pen test all bellows prior to forming and integrating into and overall Expansion Joint. Dye Pen is based upon capillary action, where low surface tension fluid penetrates into clean and dry surface-breaking discontinuities. Penetrant is applied to the welded area, the excess penetrant is removed, and a developer is applied. The developer helps to draw penetrant out of the flaw so that an invisible indication becomes visible to the inspector.
 |
 |
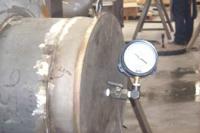
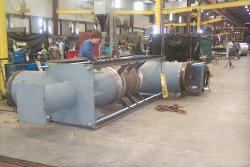
Hydro Testing – We Hydro test all bellows (unless a more specialized test is requested by a customer) to check for leakage or cracks in the welding. The bellows are completely filled with liquid. The pressure is slowly applied to the liquid until the required pressure is reached. This pressure is held for at least 30 minutes at which point the component is inspected visually to locate leaks. If a leak is present, the welds will be repaired after releasing the hydro test pressure.
 |
 |
Helium Test – this test is used to detect leaks by filling a unit with pressurized Helium and then “sniffing” the outside of the unit with a mass spectrometer to detect leaks.
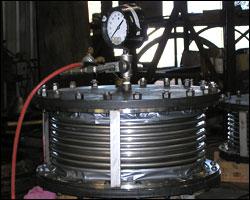
View Helium test Video
Leak Detection Test – This test is used to detect leaks by sealing expansion joints, pulling a vacuum in the expansion joint, and spraying helium over the surface of all welds. A pump pulls any gas which leaks to the interior of the bellows to a special mass spectrometer designed to detect the helium. If helium is detected, the point of the surface where it was sprayed is marked for repair. When no leaks are found, the flow rate of helium to the mass spectrometer is measured against a standard for the material. A mass spectrometer functions by accelerating a narrow beam of ions of a gas sample through a magnetic field. When they reach the magnetic field, the amount they are deflected depends on their charge-to-mass ratio. Helium molecules are so small, they will penetrate materials at a slow rate when the pressure difference of a full vacuum is applied.

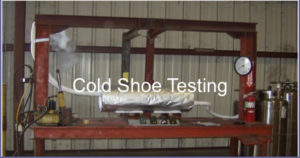
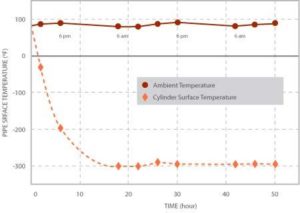
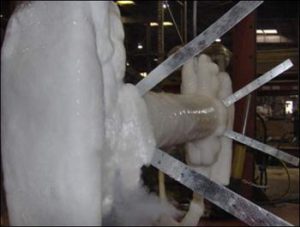
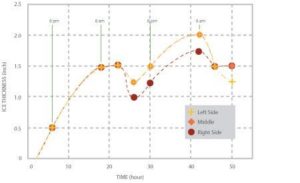
Cryogenic Testing of Cold Shoes – PT&P has extensive experience in simulating cryogenic conditions. In a typical test, liquid nitrogen from a tank is supplied through a control valve into a pipe at one end with an escape for Nitrogen vapor at the other end. A thermocouple is set between the pipe and the clamp to measure the pipe’s outer surface temperature history. Simultaneously, the ambient room temperature, relative humidity, and dew points are measured. Ice thicknesses are also measured over time.
 |
 |
 |
 |
View cold shoe test Video
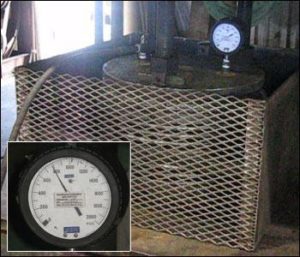
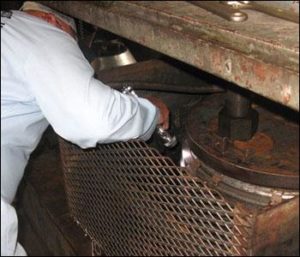
Burst Testing – This test is used to determine the ultimate pressure resistance. Normally, hydraulic pressure is slowly increased until failure occurs which is typically one to two hours. PT&P follows extensive safety procedures such as placing the bellows in a high strength steel cage and using a safety shut-off switch. Based on the burst test results, a safety factor is applied. This establishes the ultimate pressure rating.
 |
 |
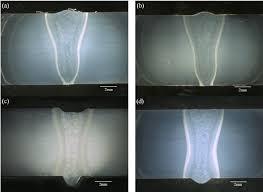
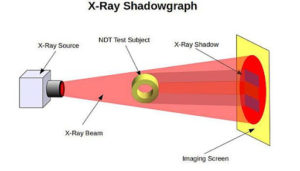
X-Ray Testing – Radiography is based on the ability of X-rays and gamma rays to pass through metal and other materials opaque to ordinary light, and produce photographic records of the transmitted radiant energy. All materials will absorb known amounts of this radiant energy and, therefore, X-rays and gamma rays can be used to show discontinuities and inclusions within the opaque material and determine weld soundness.
 |
 |
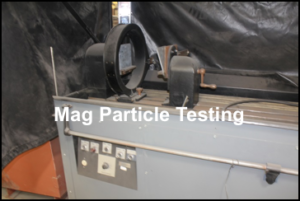
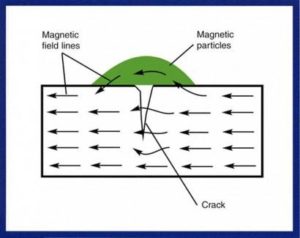
Mag Particle Testing – Magnetic particle testing is a non-destructive testing (NDT) process for detecting surface and shallow subsurface discontinuities. Direct or Indirect magnetization is used to put a magnetic field into the part. Magnetic lines of force are perpendicular to the direction of the electric current.
The presence of a surface or subsurface discontinuity in the material allows the magnetic flux to leak since air cannot support as much magnetic field per unit volume as metals. To identify a leak, ferrous particles, either dry or in a wet suspension, are applied to a part. These are attracted to an area of flux leakage and form what is known as an indication, which is evaluated to determine its nature, cause, and course of action if any.
 |
 |
Bonding Strength Test – Bonding strength is tested by pulling apart the test item in a load cell which measures the force applied. All PT&P PTFE slide plates are tested prior to shipping.
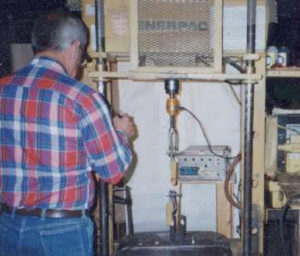
Expansion Joint Fatigue Testing – This test is used to verify how many cycles a bellows can withstand before failing. The bellows are placed on the “cycle-test machine” and bolted to a hydraulic plunger. Each cycle is counted as the bellows is compressed and returned to neutral.
